Stamping sounds scary to anyone who's never done it before, but don't fret! It's actually so much easier than you think. If you've ever had trouble in the past, you may not be using the proper tools or polish. We're here to help from A to B.
In order to stamp, you only need 3 essential tools, and an extra highly recommended one:
- A good stamper
- Opaque stamping polish
- Deeply etched stamping plates
- Lace Liquid Latex
So you know, we offer all four of these essentials in a customizable Nailify Box where you get to choose your favorites.
A GOOD STAMPER
There are plenty of stamper types -- soft jelly, hard jelly, squishy, rubber, and pencil stampers. We exclusively carry jelly stampers as we find them to be the easiest to use for novices and pros alike. It saves you the steps of priming your heads and struggling to get it just right.
Without a good stamper, you'll have trouble picking up any polish, opaque or not. Invest in a good stamper and typically one that also offers replacement heads. That way, you'll never have to splurge on another stamper again.
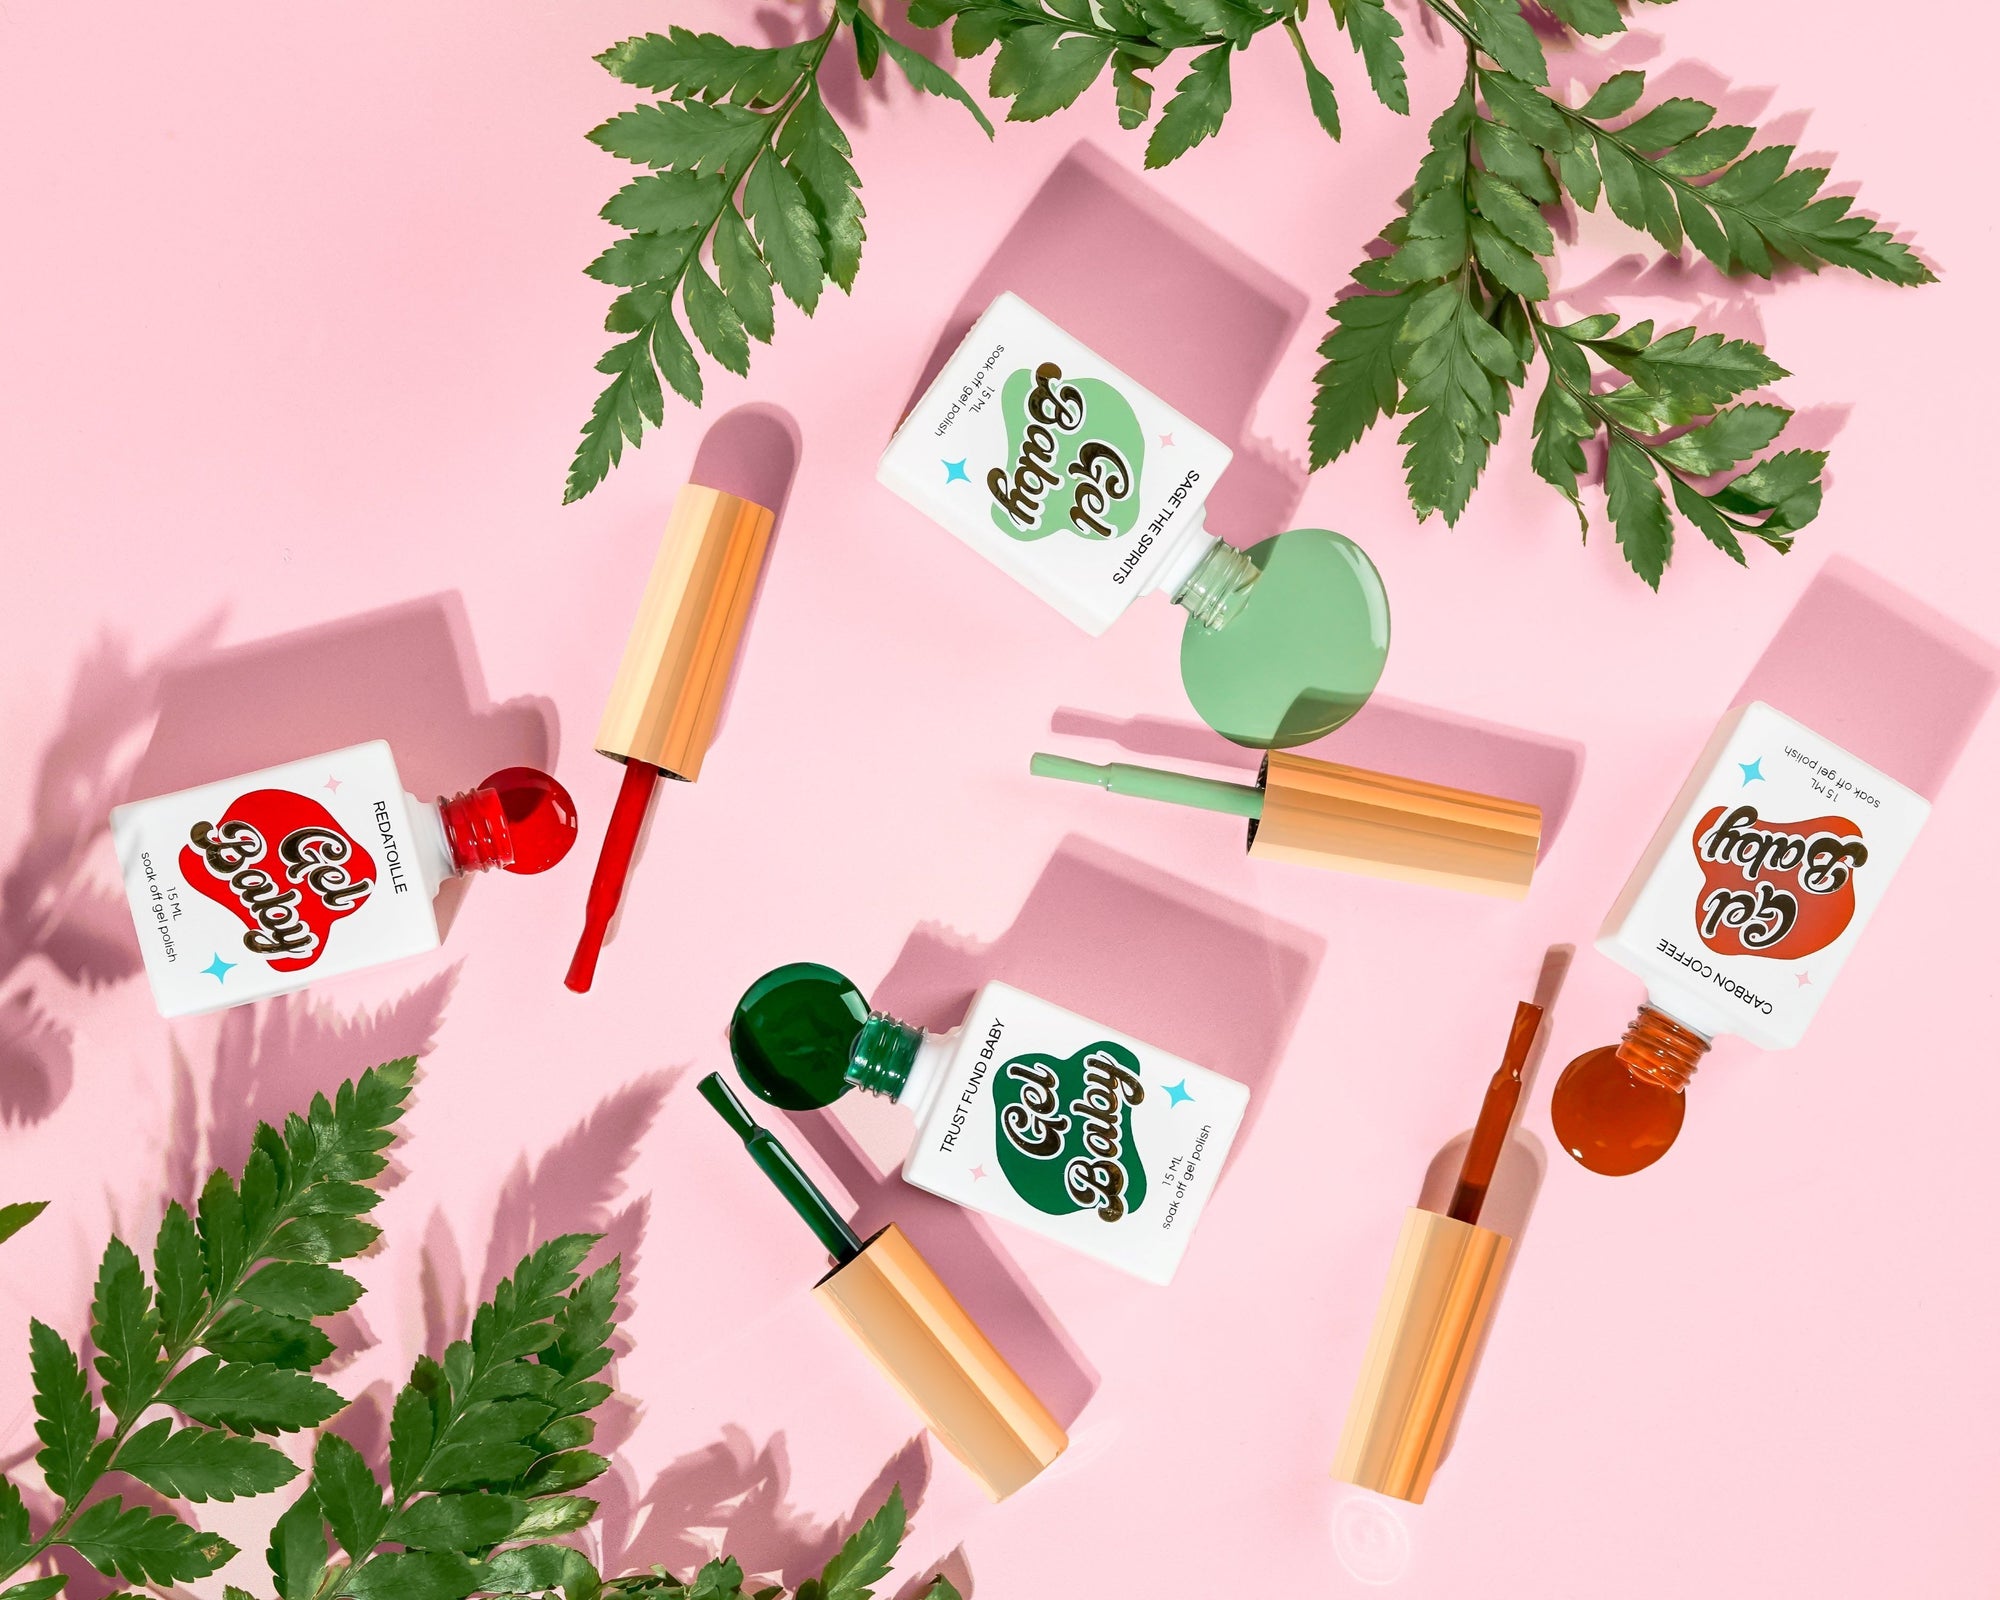
STAMPING POLISH
The type of polish you use may be the most important part of your entire process. Stamping polish is called "stamping polish" for a reason. Its thick and crazy opaque. You only need a little drop to go a long way.
Stamping polish is our specialty. We go through loads of tests to make sure Twinkled T stamping polish is opaque over most colors and easy to use for beginners. The amount of feedback we get thanking us for changing our customer's stamping experience is crazy!
STAMPING PLATES
You want to make sure you grab a deeply etched stamping plates. I know it may be tempting to grab super affordable stamping plates, but it's not worth the risk. The etch is the most important. The deeper the etch, the cleaner your stamping design will look.
HOW TO STAMP
I've tried loads of techniques. Before I begin, I want to mention that stamping is an art, not a science. If you find a way that works better for you, do it! This is what works for me.
- Apply Lace Liquid Latex around your cuticles (careful not to get the latex on your nail beds.) When you stamp, the design will leak over to your cuticles and the Lace will prevent a mess.
- I start by putting a drop of polish in the top right corner of the stamping plate design and dabbing a little more around the drop.
- I use my Twinkled T Scraper to swipe the polish in a 45 degree angle down to the bottle left corner of the design.
- Quickly, you want to lightly press your stamper down in a rolling fashion.
- Stamp the design onto your nails.
- Use a Refresher to easily clean your stamper head.
There you have it! It's that easy. The most important step in that process is to make sure you quickly stamp the polish. If you wait, it dries quickly and you won't be able to pick up the polish as easily, if at all.
I have a few other tips I've gathered from over the years.
- If you feel your stamper isn't grabbing the polish, please make sure your plate is CLEAN and DRY. When you're cleaning your plate with acetone, you want to make sure it dries completely before going in for another round.
- If you still aren't picking up the stamp, try gently cleaning the stamper head with a bit of acetone on a cotton ball. Careful though, rubbing the stamper head too hard may cause the head to rip.
- We recommend using a Refresher to clean your stamper head. Its quick, easy, and doesn't require any acetone near your stamper.
Happy stamping babes! You got this! Feel free to leave any questions down below.
Lots of love,
Lana