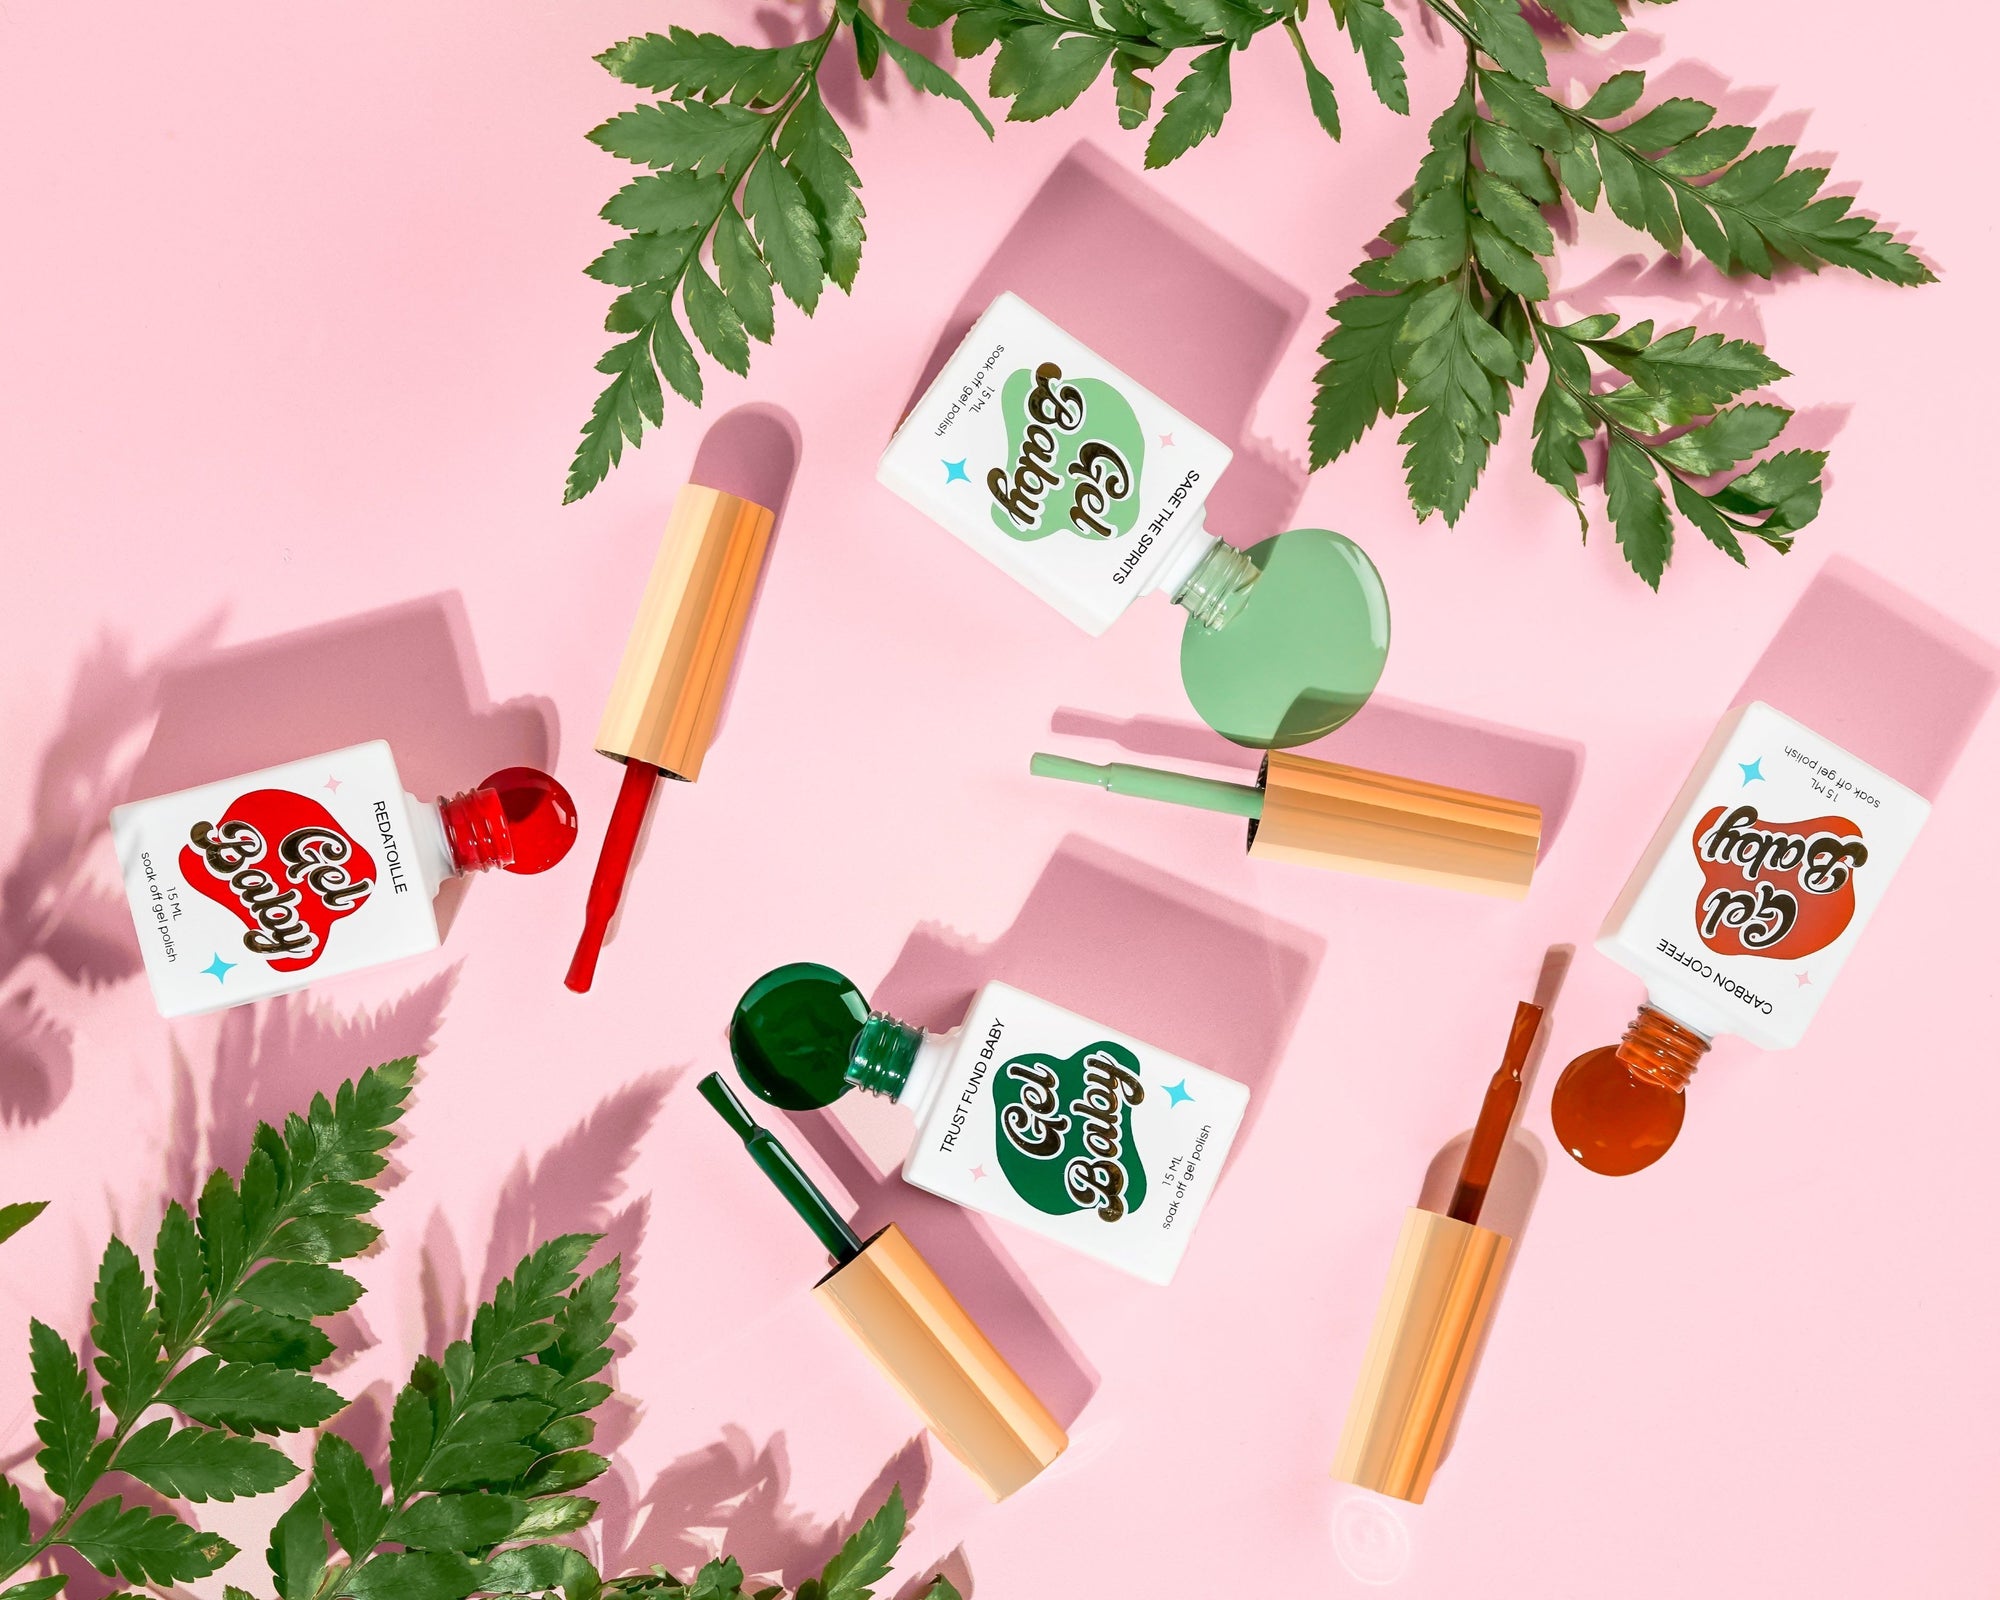
It's hard to miss how popular press-ons are these days! Press-on nails have taken over the nail art world by storm and it's easy to see why. They come in a variety of shapes, sizes, and styles and they are all so cute. They're also affordable, and (if applied properly) can last you 2-3 weeks!
Now, I was a teenager in the early 2000's and I can attest to the fact that press-ons today are not the press-ons of years past. Press-ons these days are made of sturdier stuff and won't fall off your nails the second you put your hand in water or take out the trash. But in order to achieve the long-lasting wear, they need to be applied properly.
What Our Press-On Kit Includes
- 24-30 nails (depending on the style chosen) in 12-15 different sizes
- A nail file
- Our insane nail glue
Note: You will need a tool to push back your cuticles. You may purchase a cuticle pusher or wooden sticks for this step.
Size Does Matter
First step is to figure out which press-on nail will fit your own nails. If you're in-between sizes, choose the larger one and file the sides to fit your nail plates. Each nail is numbered at the tip and can help you track what sizes work best for your nails. Line them up in front of you and keep track of which press-on goes to which nail so that there's no confusion in the next steps.
Personally, I set out all the nails first in order because once you pull out the glue and start application, you want to be quick!
Prep Your Nails
Remove any previously applied nail polish.
Push back your cuticles. If you apply press ons over your cuticle, they WILL pop off. Press ons are not meant to stick to skin.
Lightly buff your nails! We do NOT want to see a smooth, shiny surface on your nail. Your plate won't be porous and the glue won't work as well.
This step is optional but you can file or trim your nails down. My sister prefers to keep her nails longer when applying press-ons so she can have a wider base for the nails to hold since she has smaller nail beds.
Application
Apply nail glue to both your nail as well as the base of the press-on. Then, start by placing the press-on at a 45 degree angle at the start of your base, where your cuticle is. Slowly bring that angle down onto your entire nail & press down on the nail for 10-20 seconds. This technique helps avoid bubbles and leakage of the glue on the sides.
Optional, but once the nails are dry you can file or clip the nails to desired shape.
Extra Tips
I personally like to cap the underside of my nails with more glue, just for that extra hold. Dirt can build up under your press ons if you've left any air bubbles open.


